Part 48: Survival Mode, Part I
BANNER SAGA 2 SURVIVAL MODE, PART 1I don't know how this is going to go. I'm actually enjoying the combat of Survival Mode, but I'm not sure something that's combat only will make for an interesting LP. Still, I think this is at most 2 updates so we can deal with it.
Survival Mode came out after The Banner Saga 2 released. You can choose from all the heroes that were ever playable from TBS1 and 2 (including ones who are mutually exclusive. Ekkill and Egil can be friends. Onef and Dagr are playable. Rook and Alette can take the field at once, etc.) And then you, well...you fight.
There's no story in between. There are 40 fights that use the 40 maps of The Banner Saga 2. It gets progressively more difficult.

Here's the rules. We will not reload, though. If I lose a battle, that'll end the LP. This is just extra stuff and I don't enjoy the combat enough to make a go of it, and I assume that's not why any of you read this LP.

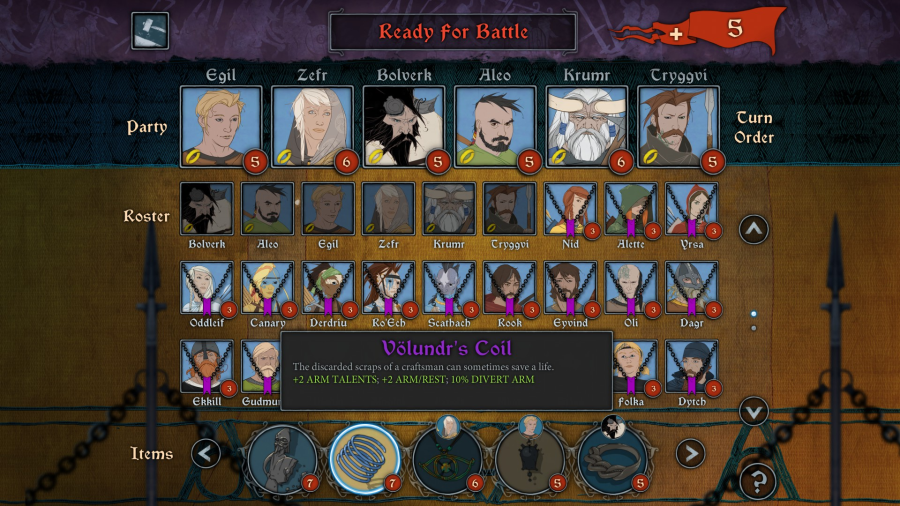
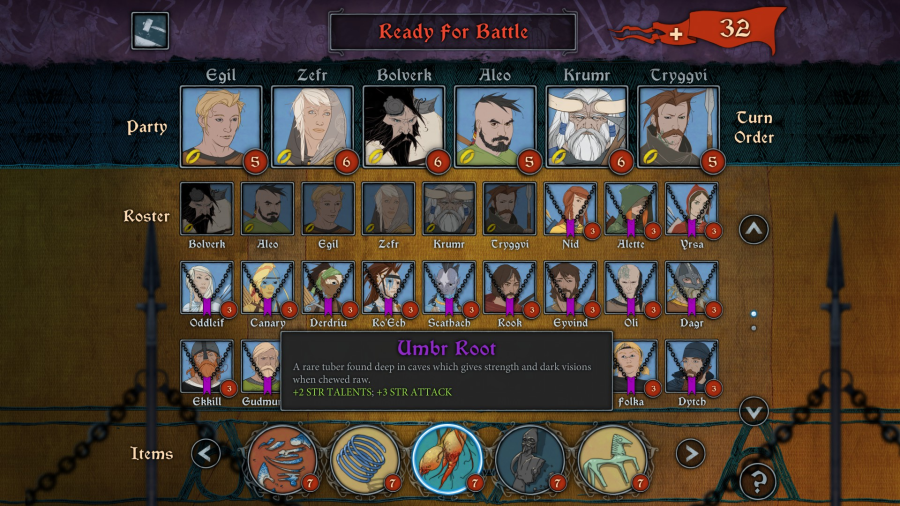
We can select 6 units from the entire available roster. No Kivi, Bastion, etc., because this is Banner Saga 2, not 3. Everyone starts at level 3. Level cap remains 10. You only gain renown from killing things and beating battles because there's literally no story here. You just fight until you die.

So here are our first 6 characters. If someone falls in battle, they're DEAD dead. There's a neat little feature available, though, that lets you get back spent renown. Then you use that renown to pay to unlock a new character and level him/her up to where you were previously.

Once you select your starting 6, everyone else is locked and you have to pay to unlock.

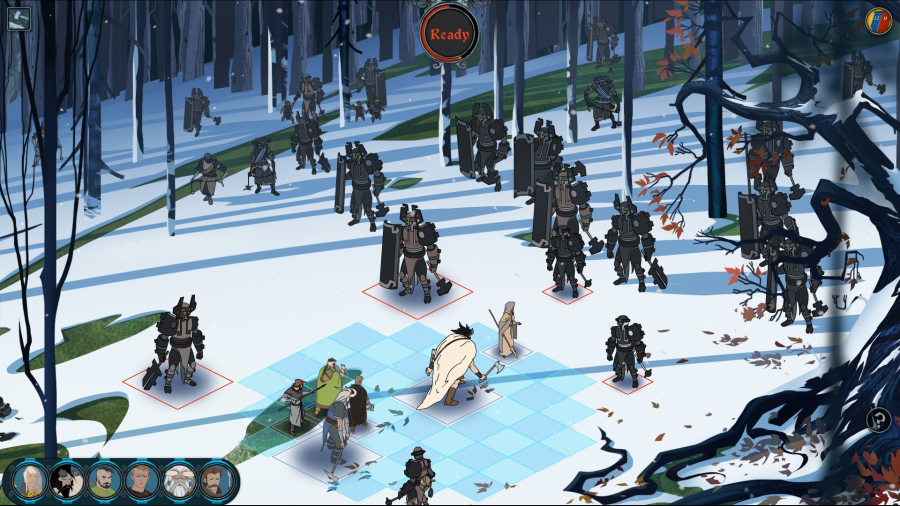
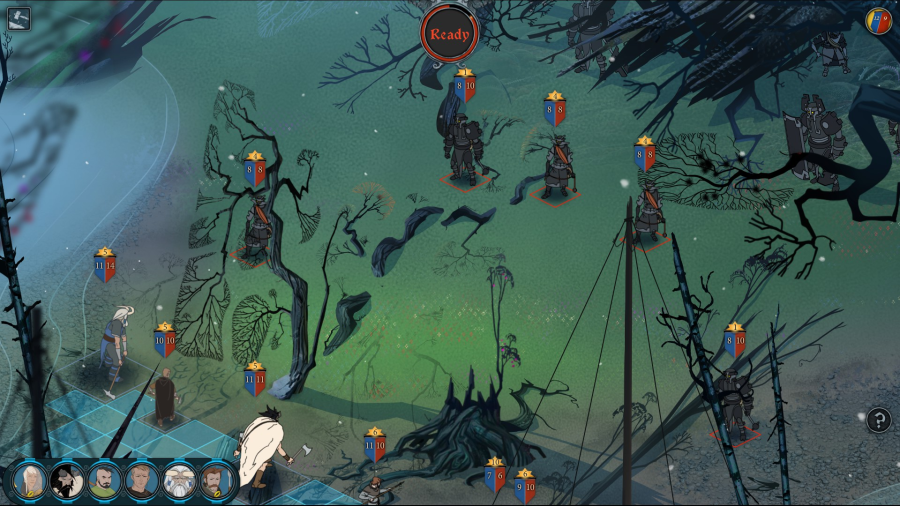
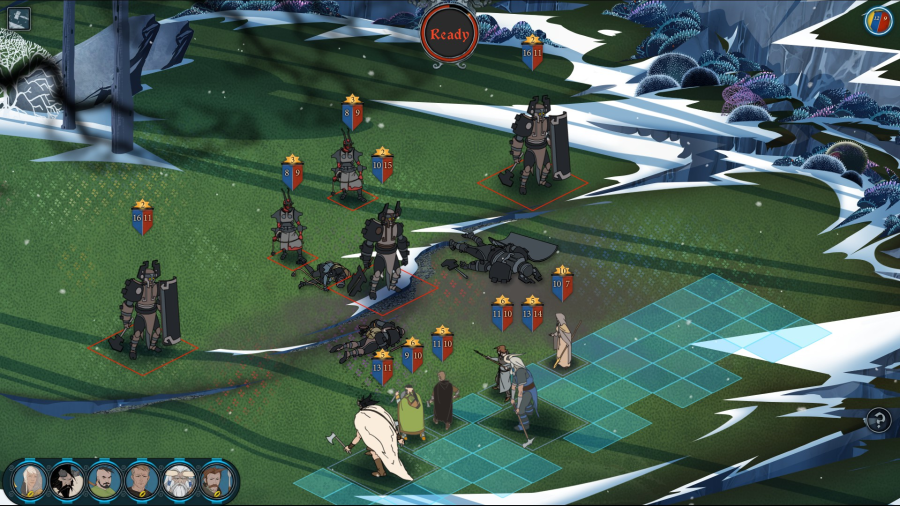
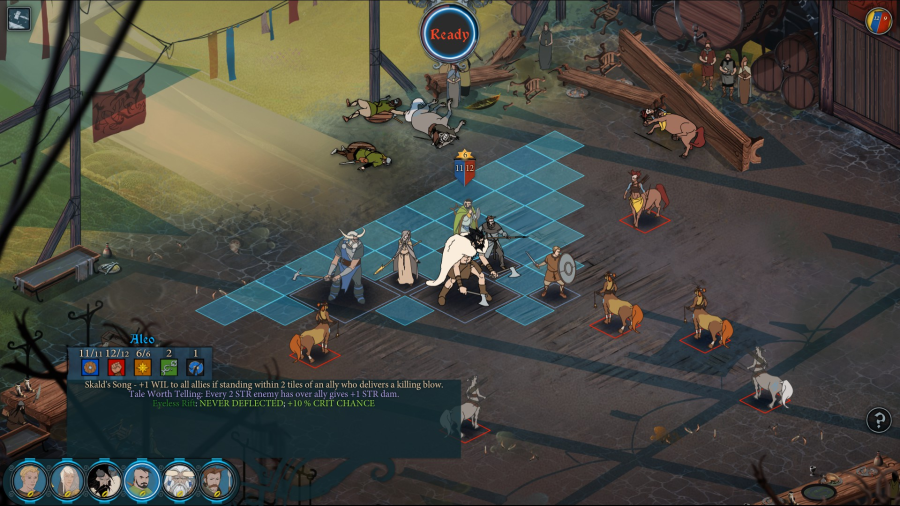
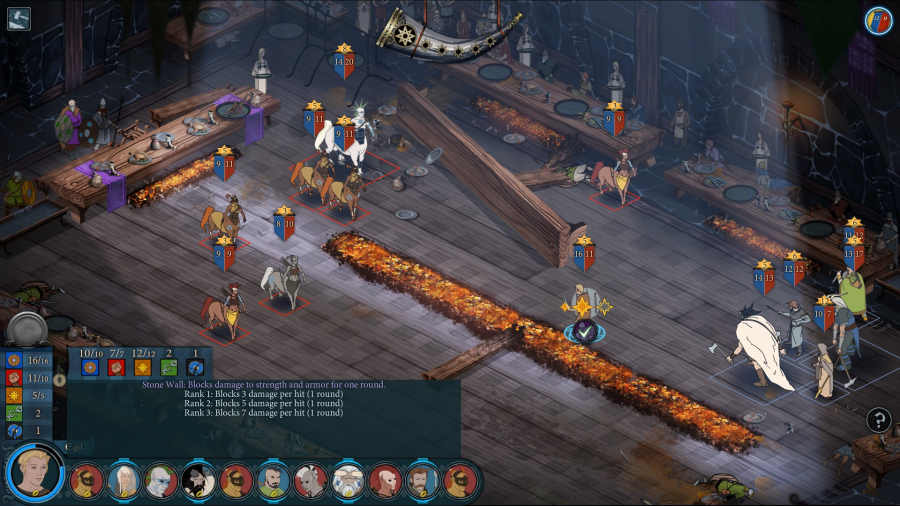
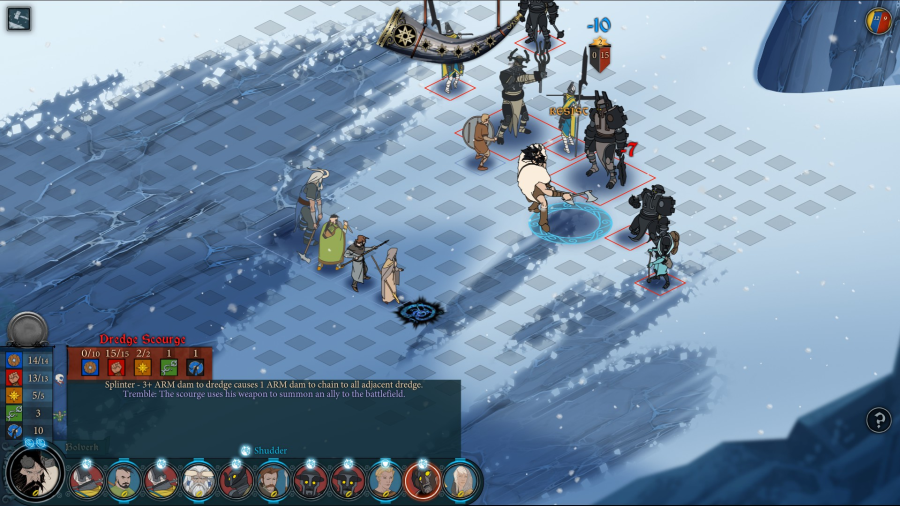
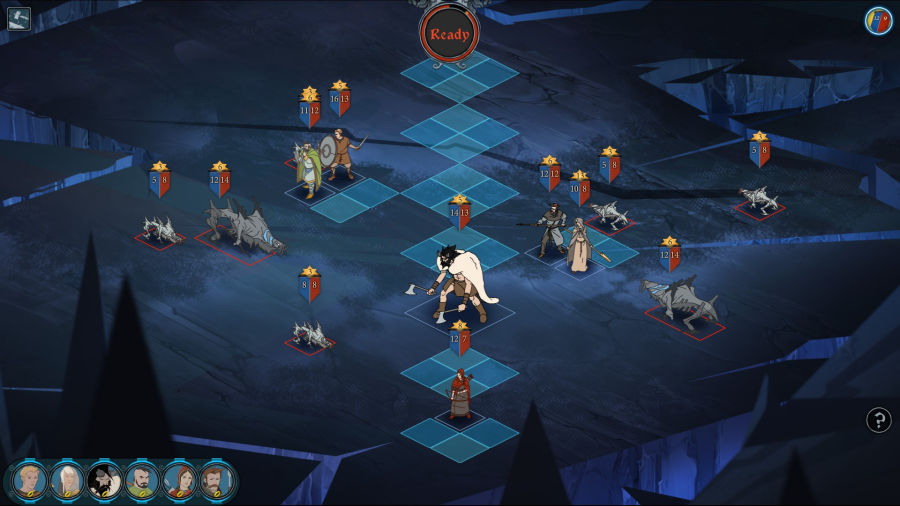
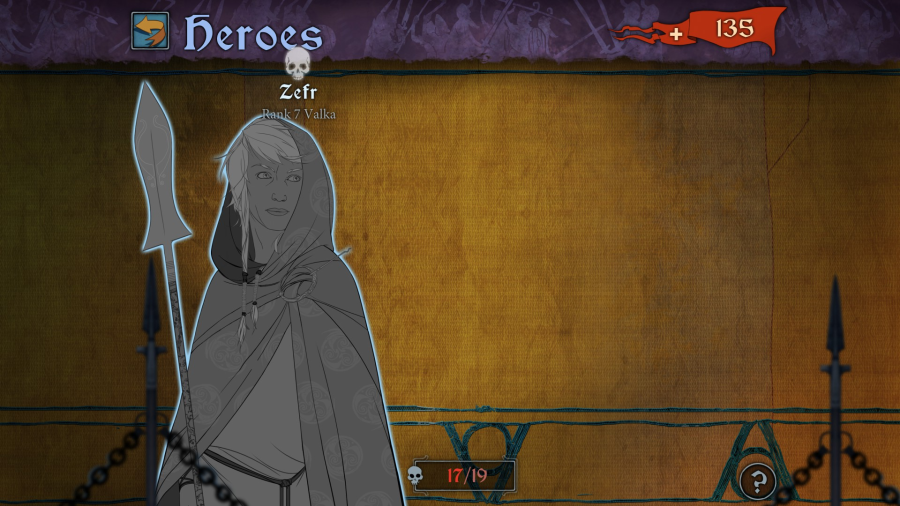
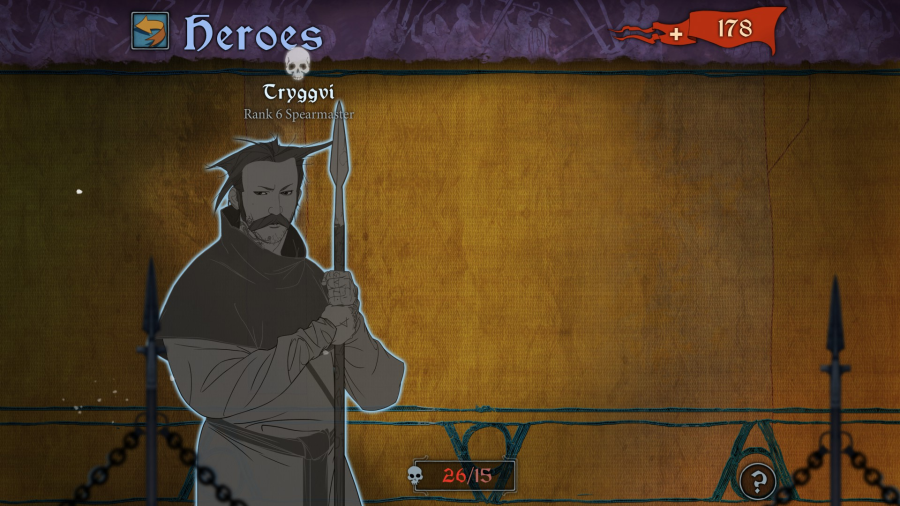
The first battle is Aleo's village. Complete with the barricades. Given that y'all selected 0 ranged units (Tryggvi and Zefr are the most rangey of the group), it's a hindrance more than anything. Bolverk can't work in tight quarters not only because he's large, but also because he'll trigger friendly fire.

I will say that playing on normal, and with all units available and not cheating with Overwatch, a lot of skills synergize really well. Zefr's Runic Gale and Breeze make Bolverk incredibly dangerous, and also let Tryggvi do some work.
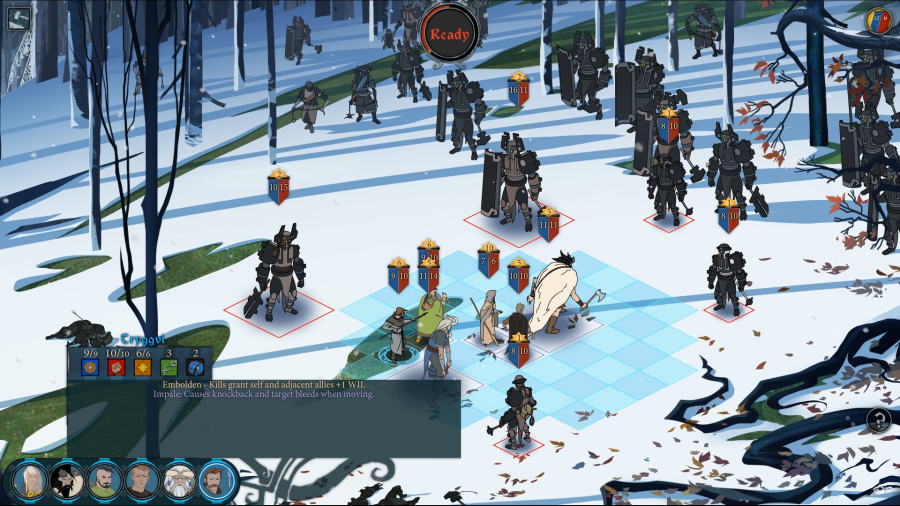
Aleo's "Tale Worth Telling" gives a guaranteed chance to hit, which in turn lets a unit ignore armor and just max out exertion to whittle down a dangerous enemy.

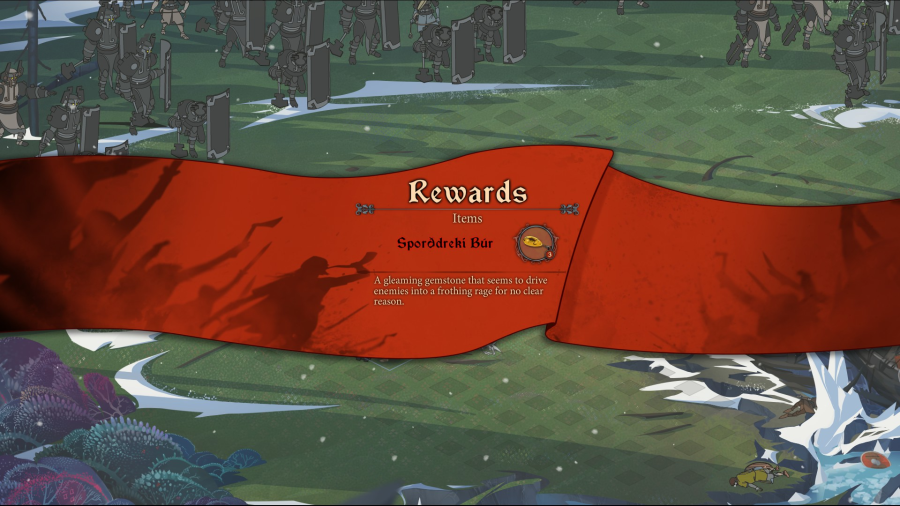
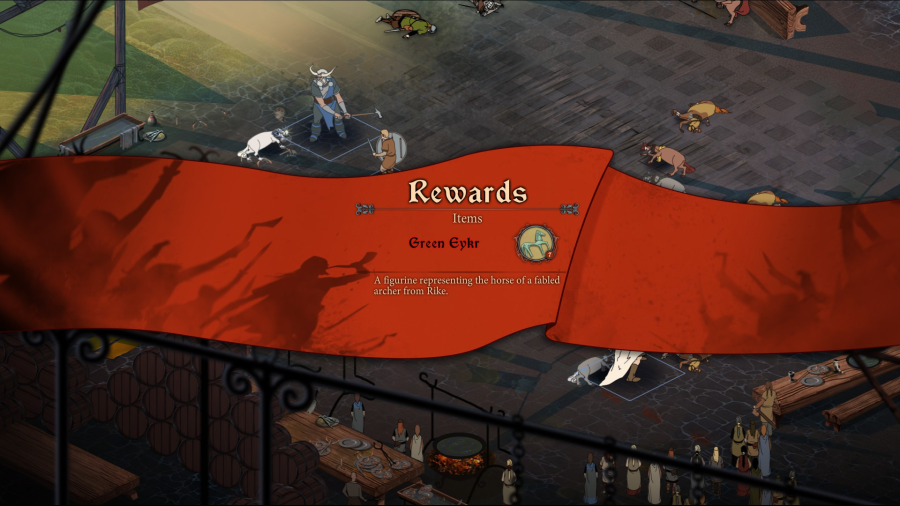
An item chosen at random (but level appropriate) is equipped on one of the enemy units on each map. On maps where there is > 1 wave, you get TWO items chosen at random. No item can repeat itself, though if an item falls on a dead hero, it goes back into the pool and can be rediscovered.
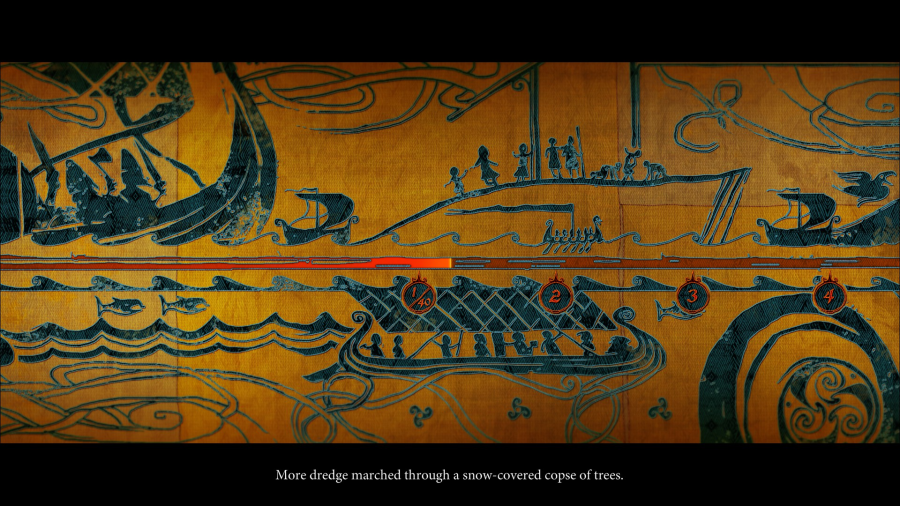
There's a woman narrator between each fight as you go from 1/40 up to 2, etc. It's not interesting and I'm not planning to show it again.
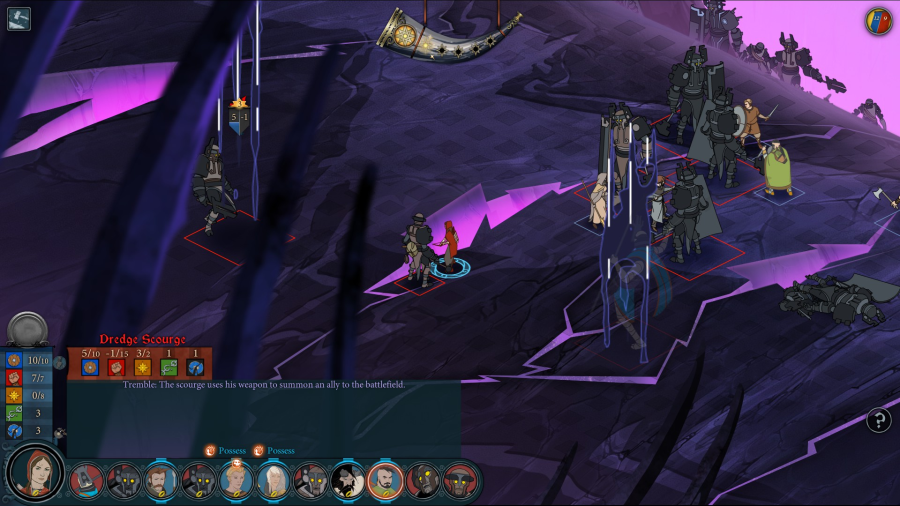
The other thing that's notable about Survival Mode: IT REMOVES THE TURN ORDER ANNOYANCE. Enemies and Allies both will take consecutive turn if the unit that was supposed to go in between has died. So, for example, if turn order was supposed to be
Bolverk
Dredge 1
Zefr
Dredge 2
Krumr
Dredge 3
...and on Krumr's turn, he kills Dredge 3, then Bolverk will get the next turn. So you should not maim enemies and instead always go for the kill. Unless you are fighting Eyeless, who cheats and gets free turns to just decimate your roster. But we're not there yet!
Anyway, we didn't see this map in the LP. It's a fight that only Rook gets. He goes berserk after saving Aleo's village and takes on a bunch of dredge stoneguards, 1 vs. many. It's winnable, though it's mostly a puzzle and it takes forever. I think it's the rare case where a video of the combat would be interesting, but I can't take video for > 5 minutes so you're just going to have to do without it. If you're really interested, do a YouTube search for "Banner Saga 2 Against All Odds Achievement".
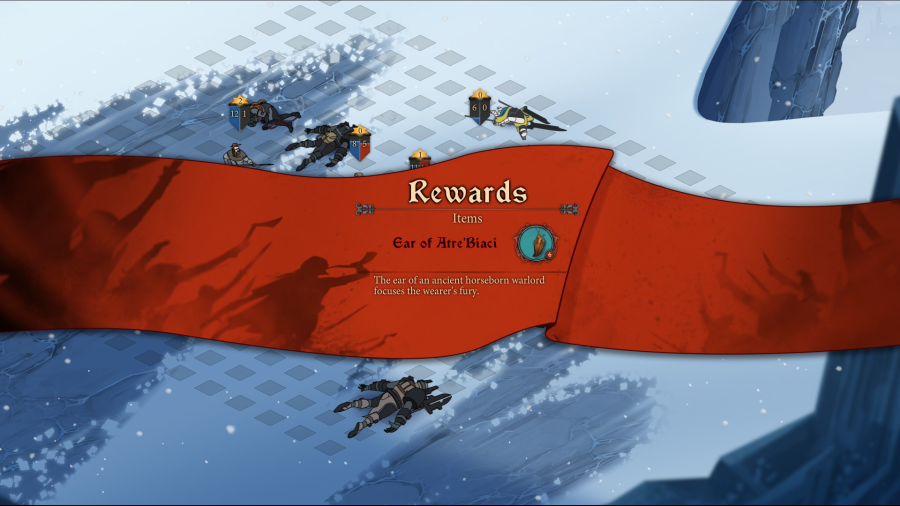
The prize on this map was the Eitrfang, which gives +3 will/kill.
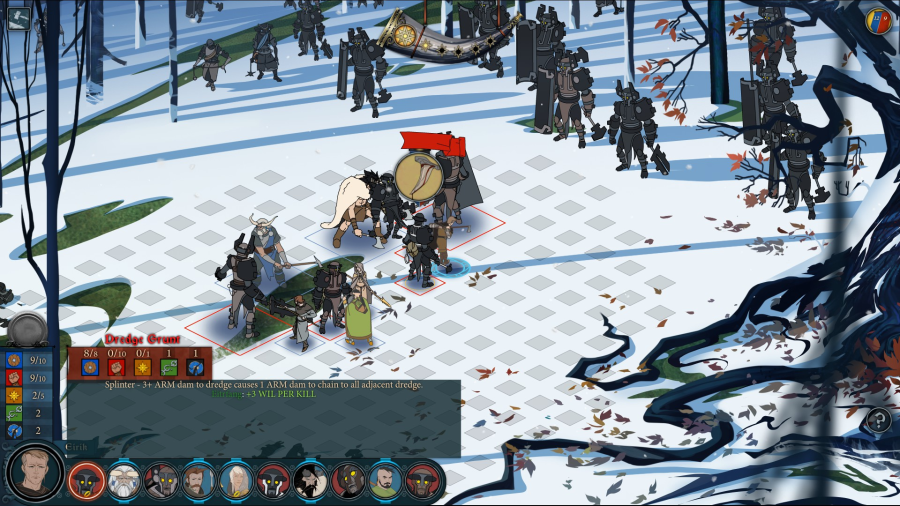
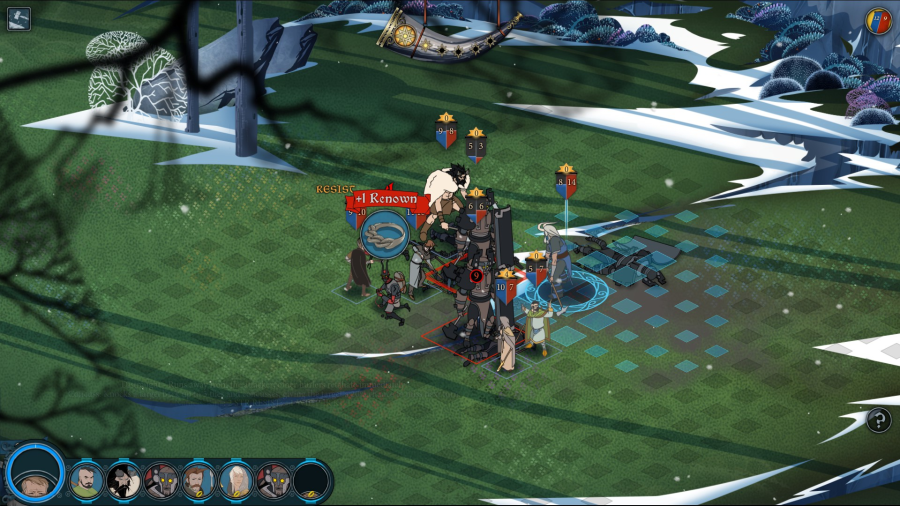
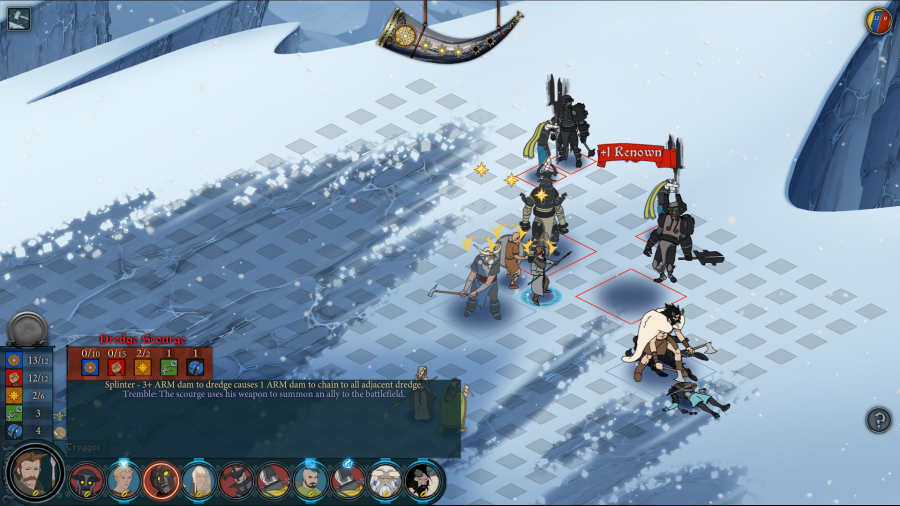
Then we get the "chop fallen debris while you hold off the dredge" map.
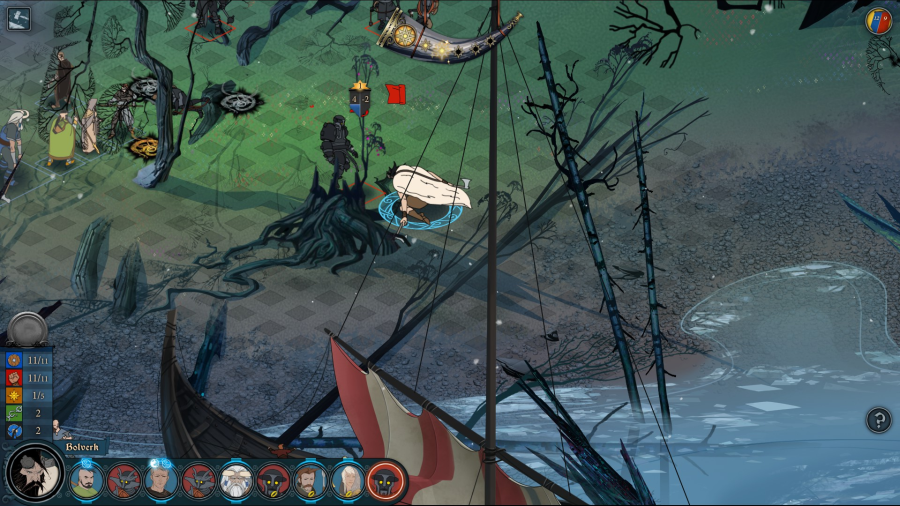
We never really got a chance to show it off, but Bolverk is absurdly good here. Possibly more broken than Alette, though you have to be smart about it rather than just "press overwatch; win." Bolverk, with a mobility item OR Zefr's Breeze (or ideally mobility + Zefr's runic gale) lets him wander out and just trigger MASSIVE chains of Cull the Weak. And, thanks to how turn order works, killing multiple weak units in a turn makes you stronger, not more endangered as the remaining strong enemies don't get extra turns.

This item sucks. Does knockback on strength damage. We don't have archers and don't want such a thing.

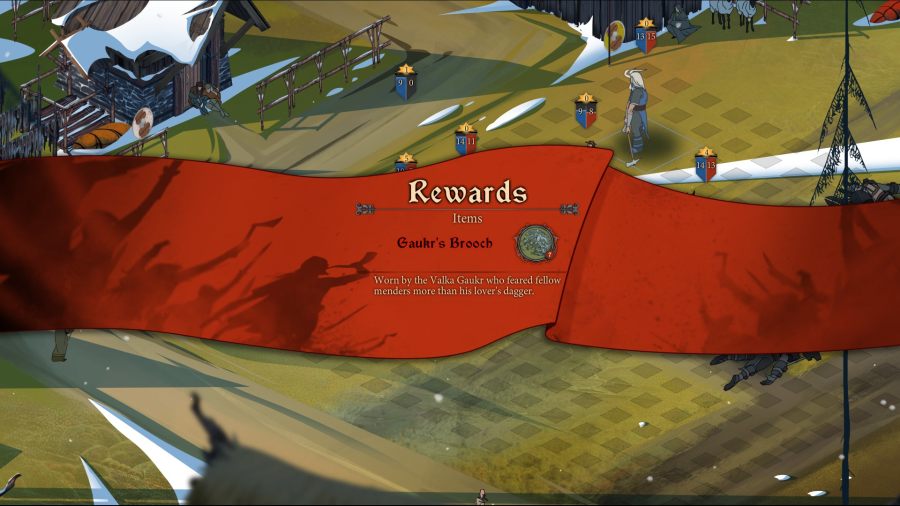
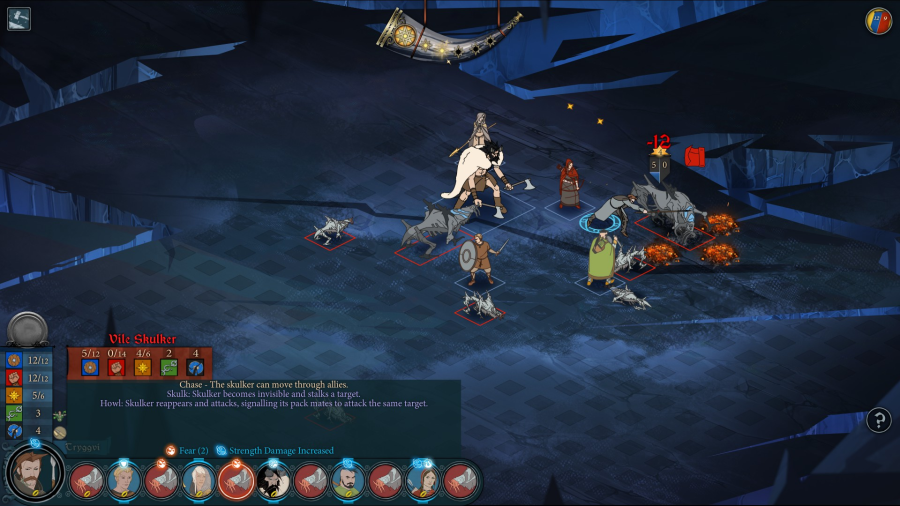
The next map is where we first met skulkers. Krumr uses Forge Ahead (which gives an INSTANT turn rather than moving after the next enemy unit; it's really strong here) so that Bolverk can go murder a skulker and then come back to the pack.
The prize on this map is the item that made Bellower just waste turn after turn on Egil. Which would be awesome, except for the part where we don't have a tank in this party.

Every 5th battle, it seems, gives you a chance to fight additional waves. Here we have the waterfall fight, complete with barricades.

Bolverk gets a studded pommel, another knockback on hit item. Worthless to us.

Sure, why not.

Another bad item for this group. The Obsidian Bell gives armor, will on rest, and +2 aggro. So it's a strict upgrade on the previous aggro item we have. But we don't have any unit that exists to be focus fired, so it doesn't help us.

You also get a bonus chunk of renown after every 5th battle. And a bonus reload, but we care less about that.
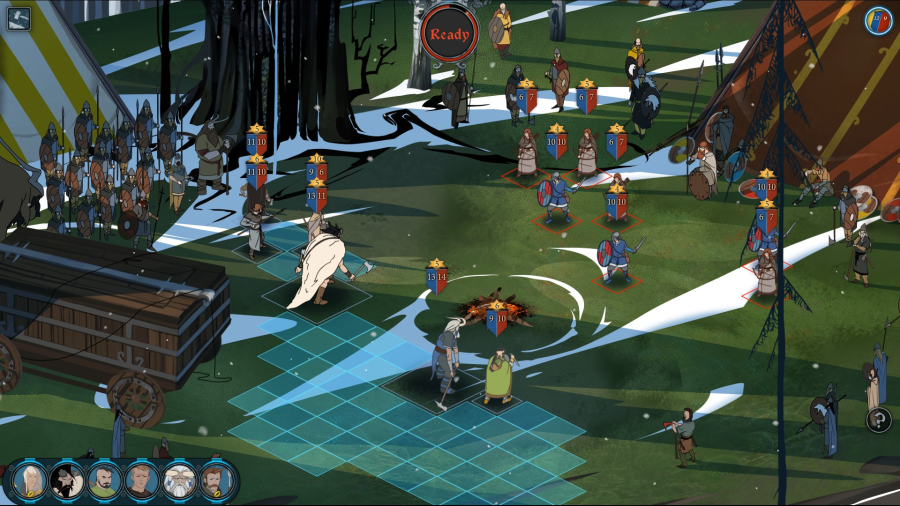
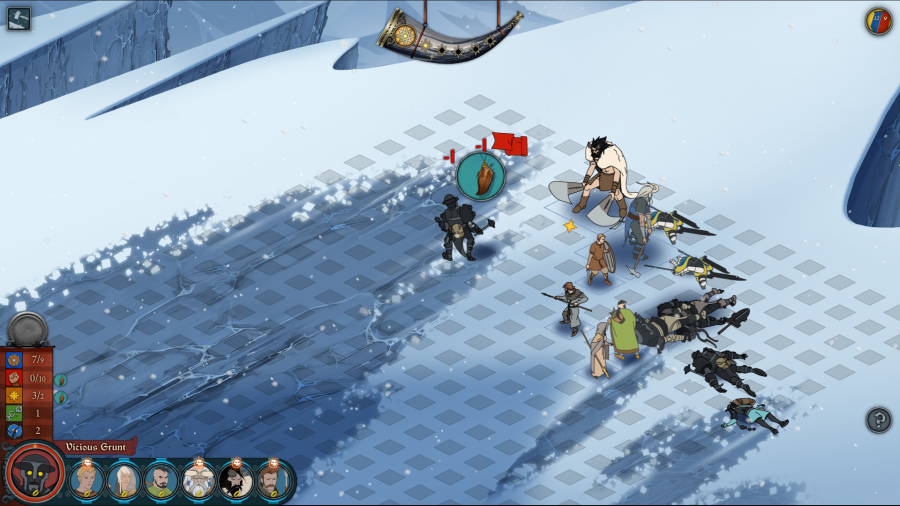
This is another fight we didn't see because it was bugged and would have killed Mogun. It's what happens if you don't properly intimidate him right when he joins the Ravens. He wants to open up Bellower's cart (at the time, we don't know it's Bellower in there; he thinks it's just something expensive and worth looting). Bolverk tells him to get back in line, and he attacks.
Human enemies are very dangerous--especially with this many archers. A couple nasty armor breaks and punctures and someone could die.

Fortunately, humans are also squishy and Bolverk just marches all through their rearguard and it's over pretty quick.
Next we have the fight where we met Oli.

It's not a great idea to use Zefr's Runic Gale as your strategy because it's really random, but when it works, it's AWESOME. It boosts Bolverk's break up to 10 and so he just walks forward and destroys the toughest enemy on the map.
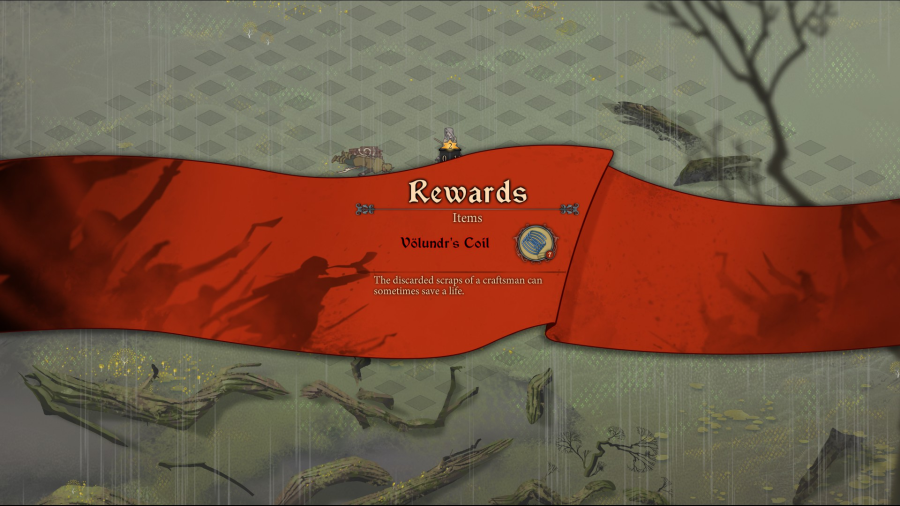
We finally get our first good item. The Namejs' Ring. That'll go on Bolverk so that he can walk through hazards.

We had this battle, but we chose an out-of-combat dialogue choice that let us start BEHIND the barricades. Starting outside of them means that the archers can make pincushions out of us.
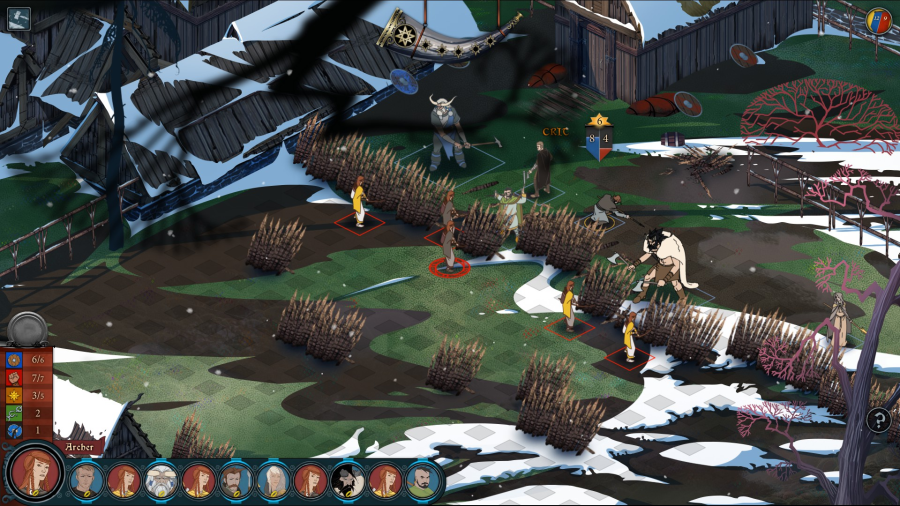
It's compounded by the archer carrying this map's item getting a lucky crit and nearly killing poor Trygvvi. Tryggvi is going to spend the rest of the battle trying to stay out of the way.

We immediately go for the dangerous archer with the item--the Eyeless Rift, which gives auto-hit as well as a chance to crit.

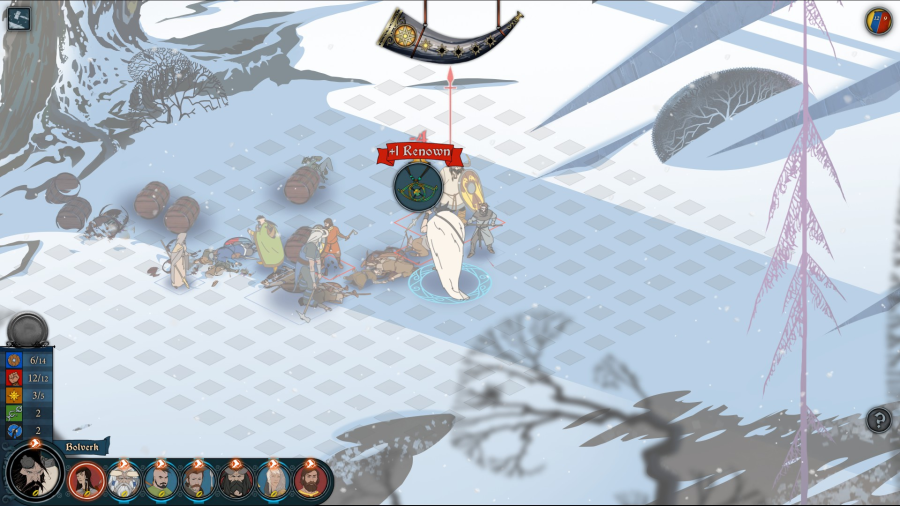
I don't even know what this map is. Clearly it's one of the Raven fights but I don't remember it. Anyway, there are enemy varl shieldbangers--something we never saw in the campaign.
The thing about varl shieldbangers: their passive makes the attacker take +1 armor damage. And it's bugged. If Tryggvi used impale, which does bleeding damage but is classified as melee, every tick of bleed damage the varl takes will magically cause Tryggvi to take more armor damage. Which is devastating.
So instaed he stays back and skewers this poor schmuck.
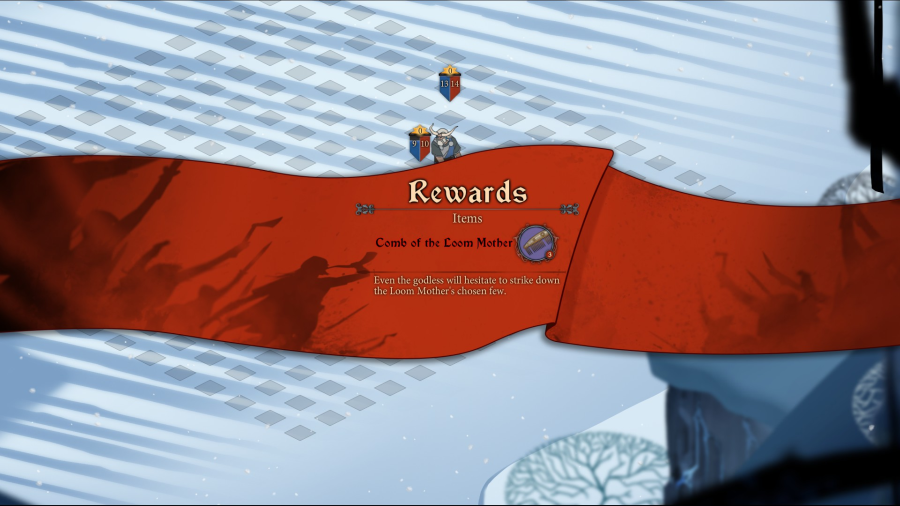
Prize on this map is the Comb of the Loom Mother, which gives -2 aggro. Nice for someone we don't want getting targeted.

Our crew for battle 10.

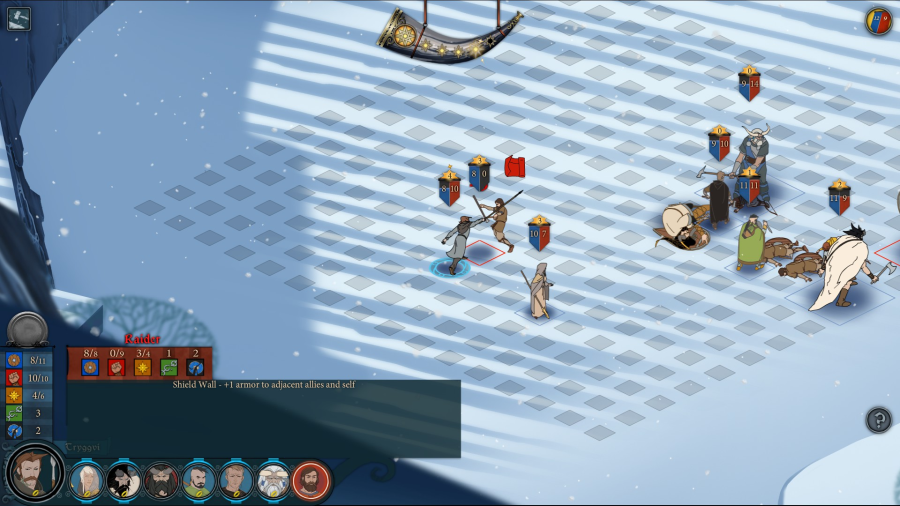
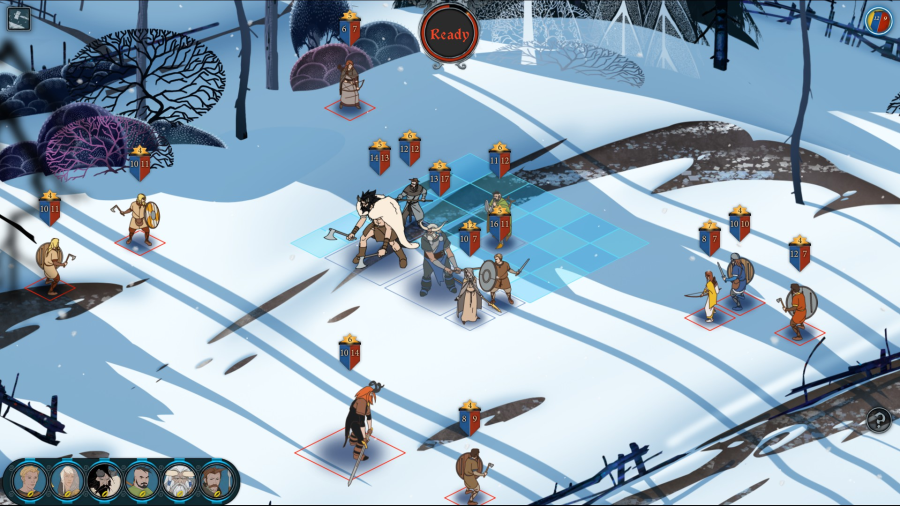
This is the ambush fight from campaign, where you only have Bolverk, Folka, and Bak. Sefa, the enemy archer leader, remains very dangerous.

And to make matters worse, I don't properly respect Sefa's "Rain of Arrows" (the skill Oddleif has) and we end up getting everyone hemmed in. I'm going to win, but Eirik and Aleo are looking pretty rough.

Bolverk tried his best. Had a 50/50 shot--he kills one raider and then he'd swing on an adjacent target. If he hits Tryggvi, Eirik is exposed and could die if the enemy AI is smart. If he hits Sefa, she can't do enough damage to kill Eirik and the battle is won.
This being The Banner Saga, you see what happened.

At least she was carrying a good item, I guess.

I don't want to lose any more heroes. We'll pull back.
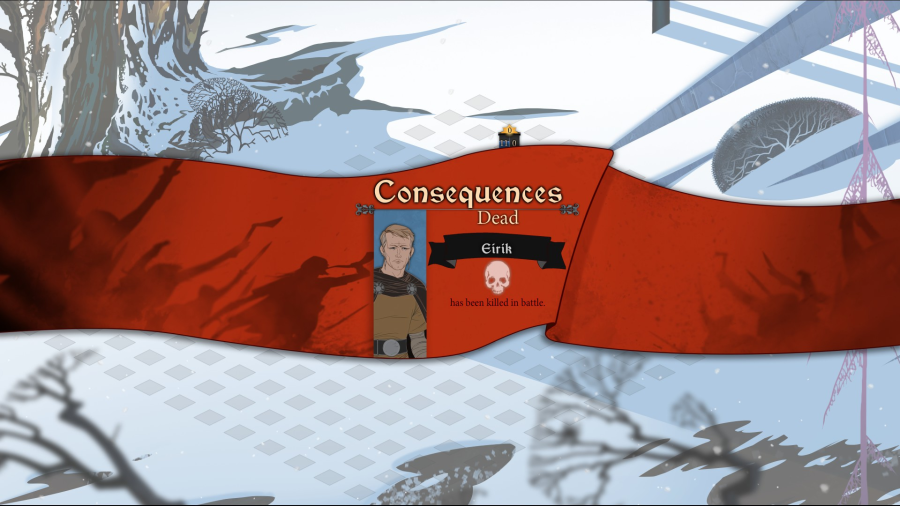
So...that's it for Eirik.

Which means we need to regroup.

If you use "viking funeral" on a dead hero, it takes the item s/he was wearing at the time of their death, destroys it, but also refunds you a good amount of renown.
So...bye, Eirik. You had a novel written about you but you were wholly unmemorable in our LP.

And that's that.

Here's the item he died trying to get.

We need a tank, and Egil was tied for 6th in voting. So he's joining the crew as Eirik's replacement.

But Egil doesn't need that much renown to work well. So we instead level Zefr to 6 so that we can use her Breeze ability.

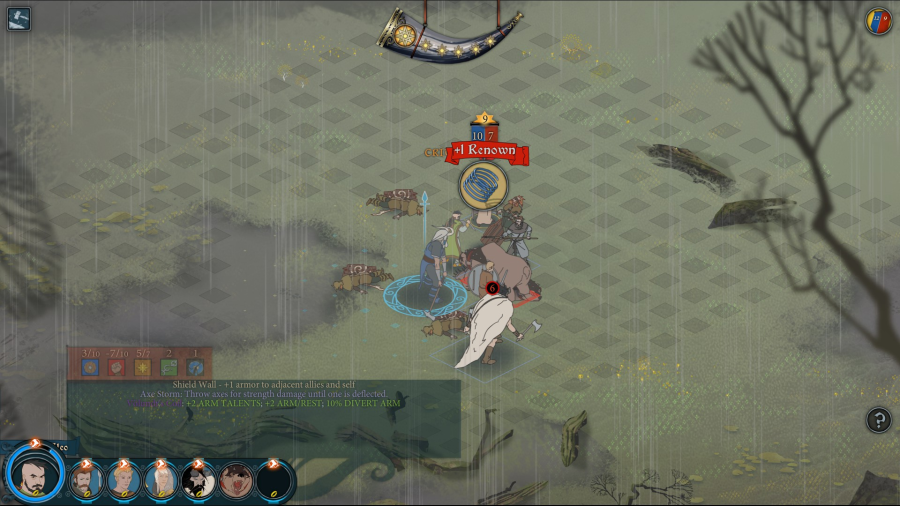
The next sets of fights are in the swamps--where we fought all the kragsmen in Alette's campaign. The bears remain the most dangerous targets because they have to have their armor completely broken before you can start defanging them.

Everything goes for Egil, who tanks. You've seen this before.

Next fight is more of the same.
It ends roughly the same way, too. We get a slinky for our troubles.
A lot of the items we're finding are good for archers. But we don't have any...
This one would be pretty decent for a tank. But Griss, Mogr, and Fasolt are all on the bench.

This is one of the Lundar fights.
It goes just fine. Dredge really aren't very threatening right now.

We level Bolverk to 6. Bear Rage is as pretty bad ability, though it helps to discover adjacent skulkers sometimes, I guess.

Another Lundar battle--this one had we fought the horseborn instead of the dredge when we entered the city.
Tryggvi shines here. Horseborn are all about movement. If you impale one, all its movement--both before and after its attack--causes it to take extra damage. Tryggvi gets credit for a kill as a horseborn runs around and bleeds to death.

Another item not terribly appropriate for our party.
Battle 15 is more horseborn inside Lundar. We'd have gotten this had we chosen to save the market instead of civilians.

At this point things are down to a routine. Bolverk has a movement item, Zefr uses runic gale, he charges forward and starts just cutting swathes through the enemy.

Things were going well enough that we went for a second wave.

Which is successful, and we get 2 more items we don't really have a use for.
This is actually really good and would make Bolverk very dangerous. But I'm so reluctant to give up the Namejs' Ring on him. Maybe I'll put it on him eventually.

This is an inferior version of Hagn's Fall (the little statue to the left of this item). And in any case, we don't have an archer with which to use it.
Another Lundar fight. I think we got this one--it's the "Save the families" choice, I think.
Not much to tell. Bolverk killed a lot of things.
...maybe I should have played this before Banner Saga 3's LP so that you all saw Bolverk as a threat, and not just "some chump that Iver one-shot at the end of Banner Saga 2."
Had we chosen to save the great hall of Lundar, we'd have gotten this map. It spanws Triggecanthae, the horseborn leader that we killed outside of Ettingbekr during the campaign. He's 2x2 so he's going to have a terrible time.
And that fire pit in the middle of the room is something that won't bother Bolverk at all thanks to his Namejs' Ring, but the horseborn will dumbly walk across all the time.

Willow was a good movie.
This is the fight you get after the POV switch back to Bolverk following the Lundar fight. It's a dredge ambush, but in this case it's humans. Squishy humans. And one varl.

This is one of those items that's MUCH better (+2 armor/turn) in the campaign than in survival mode. I was pretty excited when it dropped, but then I realized there's no way to increase your # of turns like there is with the your turn-my turn stuff of campaign. It won't proc enough to be of use to us here.

Fighting numerous stoneguards at once is a lot of fun, because they get in one another's way. It's really non-threatening. Slingers are far more dangerous.

So the fight turned out to be trivial and we get this item.

I could see this as useful for Oli, if ever we recruited him.
This is battle 20. It takes a marked turn for the dangerous. The stonesingers can and will cast stackable umbrage, and they poison on hit.
Things start out well enough, with Bolverk ignoring the thorns spell the stonesingers cast, and absolutely wrecking a couple dredge.

They continue to get better as Krumr gives Bolverk another turn with which to carve up some more opponents.
Then I make a critical error. Tryggvi kills the large dredge scourge, which puts him in position to make a prime target.

A stonesinger runs up and hits him. Which itself isn't so bad. But he gets diseased, and since it passes to adjacent units, so too does Egil and Krumr. This fight is now a race against time.
My second big mistake is hubris. I figure Tryggvi's still got plenty of time and we can handle another wave. So we go for it.


But the enemy is on opposite sides of the map, and even with Zefr's Breeze allowing Bolverk go to wherever, I don't have the killing power to take out everything before Tryggvi poisons himself to death.

My only hope is to attack with Bolverk even as he's adjacent to people. If he hits Krumr, it'll drop Krumr to 3 health. Which is enough to still escape the fight unscathed.
Unless Bolverk's 5% chance to crit procs. Then he'll just kill Krumr outright.
The Banner Saga, folks.

Well hey, at least Tryggvi is alive.

Not worth it at all. Krumr had both tempest and an incredibly strong forge ahead ability. Now I'm gonna hurt for DPS.

At least we can get back a large chunk of renown.

That renown will go to Yrsa, who was also tied for 6th place in the vote.
Now we start getting a bunch of Bolverk's underground maps. Skulkers are really dangerous because their stealth ability is broken as heck.
You can break skulker stealth if Bolverk trips over one and then uses Bear Rage--which does armor damage to adjacent enemies even if you can't see them.

The same is true for Guts.

Anyway, we finish off the skulkers without much more difficulty.

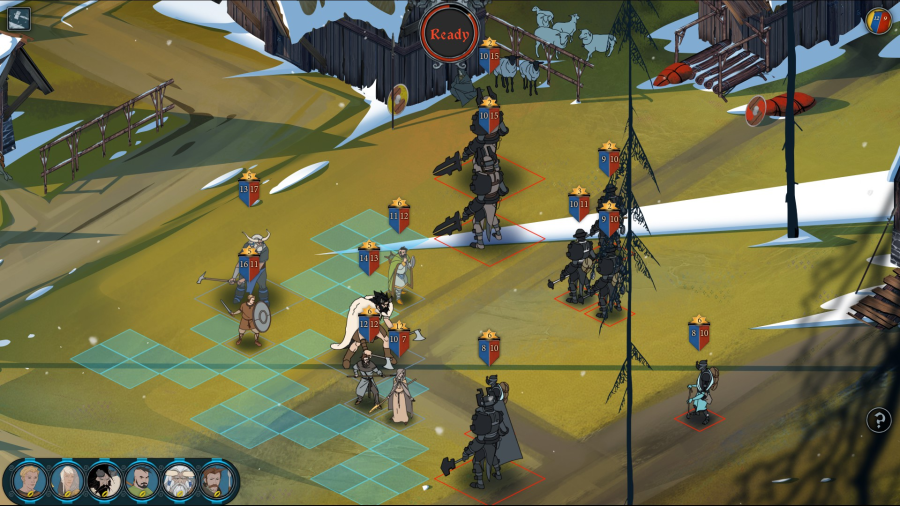
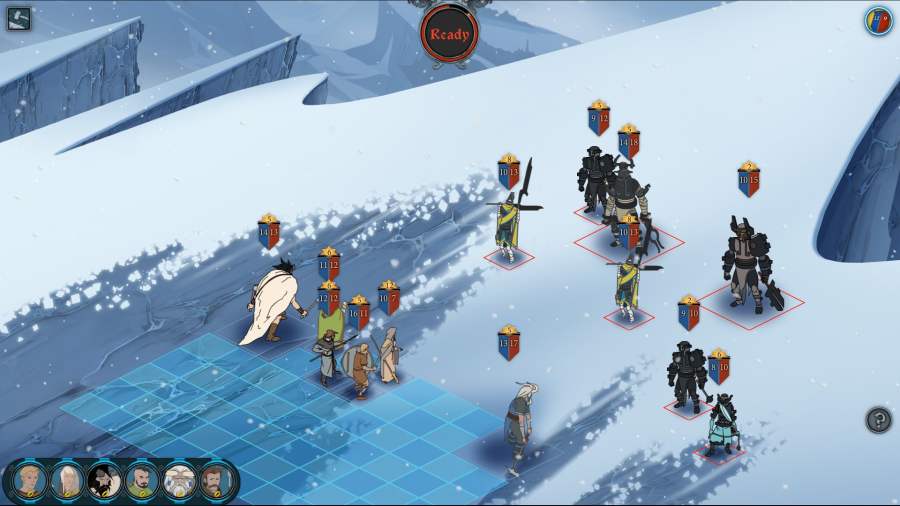
The next map is where we first met Eyeless. Eyeless still sucks.
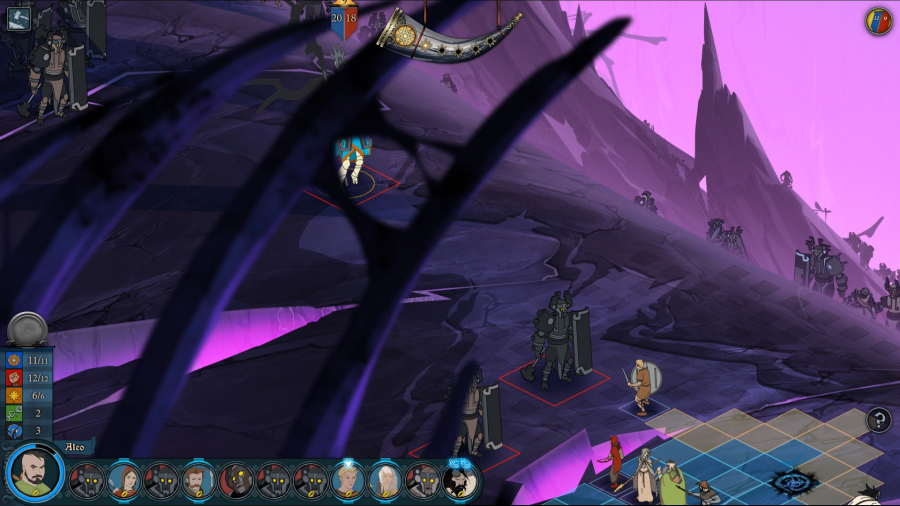
After you make the first kill of the map, Eyeless takes the field, but she's really far away. No worries.
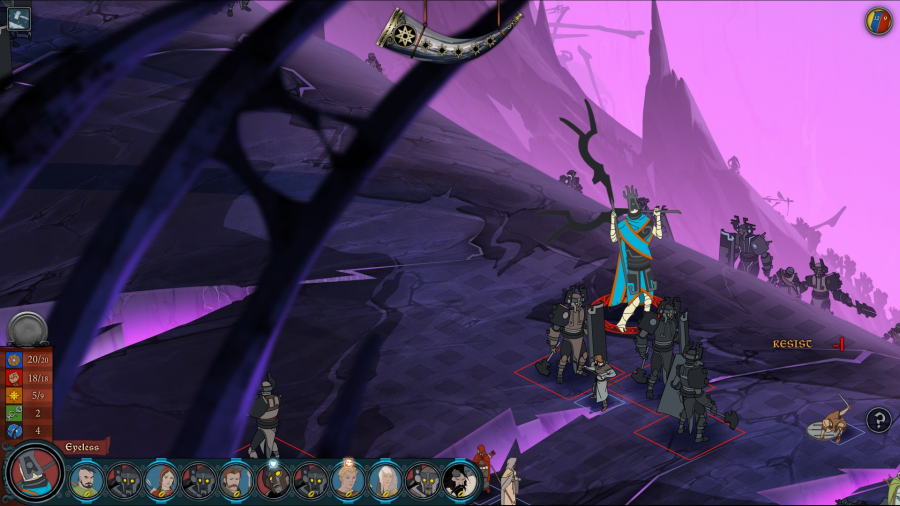
She's close enough now that she can attack Egil, and strong enough to pierce his shield wall. Which in turn causes him to get diseased. Now we need to finish things quickly.
Not this quickly, though. Yrsa accidentally crits an Eyeless zombie, which lets Eyless pop up wherever she damn well feels like and take a turn.
Which she uses to one-shot Zefr. It's garbage. And now I can't even whittle her down because Bolverk is so far away.

Bolverk desperately tries to make a beeline to Eyeless, but accidentally kills Aleo in the process.
Tryggvi falls to Eyeless.
Yrsa to a random grunt. She barely had a chance to fight in the party.

Egil gets dropped to 1 strength, and with disease there's nothing I can do to save him.

At this point I know I'm going to win, but I also know that Bolverk is going to be the sole survivor.

At least Egil got to go out fighting rather than dying of poison.


RIP all of you. You got more than halfway through the campaign before Eyeless' bullshit got you.
We now have 213 renown left, a bunch of good items, and one REALLY strong Bolverk.
VOTE TIME

Choose THREE more characters, as Eyvind (we need a mender) and Canary (tied for 6th place; next person up) are coming in.
ARCHERS: No more than 2
Oddleif
Nid
HORSEBORN: No more than 2
Ro'Ech
Derdriu
Scathach
LANDSMEN: No more than 1
Dytch
RAIDERS: No more than 2.
Dagr
Hogun
Mogun
Onef
Ekkill
Gudmundr
Oli
SPEARMEN: No more than 2.
Ludin
Bak
SKALDS: No more than 1.
Sparr
SPECIAL CHARACTERS: No more than 1.
Rook
Folka
Iver
VARL SHIELDBANGERS: No more than 1.
Fasolt
Griss
Mogr
VARL WARRIORS: No more than 2.
Hakon
Gunnulf
Bersi
Sigbjorn